
I play Ragnarok Mobile: Eternal Love game since it launched the global server, its on my daily routine and I met people from across the globe. Since I saw some other players doing some data mining for extract the code and the models I always wanted to do a small 3d printing of my characters inside the game. It took literally YEARS to do. Its far from perfect and probably would be easier and more effective to learn how to do a 3D model from scratch. I will list partly of the process that I did until I could ask a friend to 3d print a character model from the game.
The Target
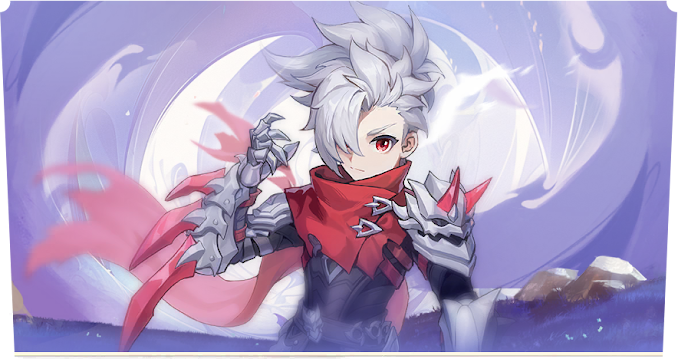
I wanted to be able to make 3d prints from the character of the game. For that I had to select a target, extract, mount it, process and then ask for it to be printed. A friend of mine who I know for years was going to have his birthday on September, I got the print on November, so yeah… got out of schedule, but I made a model from his character: The Nameless One.
The Extraction
I think this step can viewed as illegal, but its 2025 you downloaded the thing, the file is on your computer, you should be able to use it however you want if not doing any harm to anyone else, if anything this process was a homage of the other fellows gamedevs and the artistry to create this character.
-1.gif)
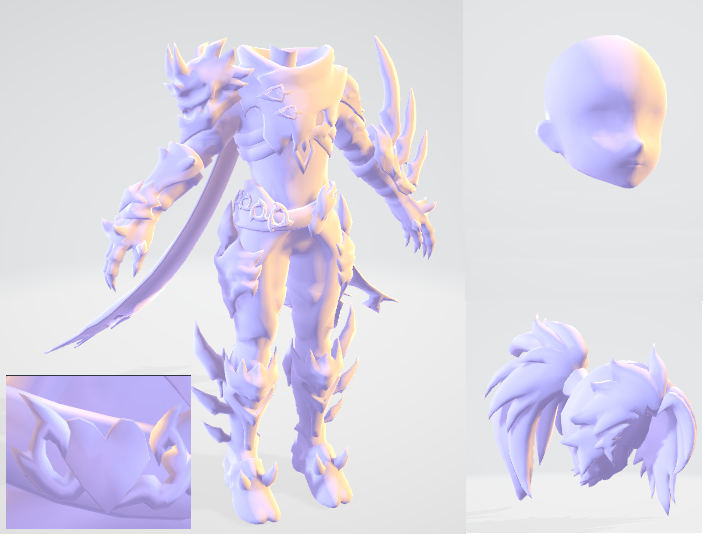
I did a very large inspection on the files using multiple types of programs, my best solution was to use a software called Asset Ripper. Each part of the character, (body, hair, face) where extracted in a different 3D object. Took a long time, since I had to extract of those all the files and then search for those on the result folder. There’s a lot of gems inside it. I still want to make a whole Glast Heim set with the main building or the church entrance and a Baphomet there. It will take time.
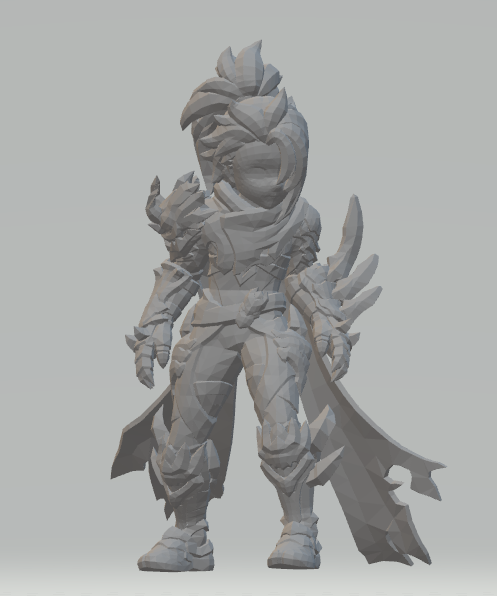
The following is a print screen of the 3d model of the body for that character.Its beautiful how many tiny details they added to this character, having even a small heart behind in his belt:
Mountain and Positioning
I imported all this pieces inside Blender and removed everything related with the 3d skeleton! Its important to emphasize how the construction of a model for a game and a model to print is very different. A 3D model for games might have hidden vertices, don’t care with the gravity or any other physics constraints. After this step was done. I sent it to Mixamo where I chose a position that I felt it was more natural and imposing for a cold assassin. Their tool for creating the skeleton automatically help me a lot after some trial and error. He has a asymmetric body and to help out, he has a cape, this step was hard to adjust and not all the models I could made it work out.
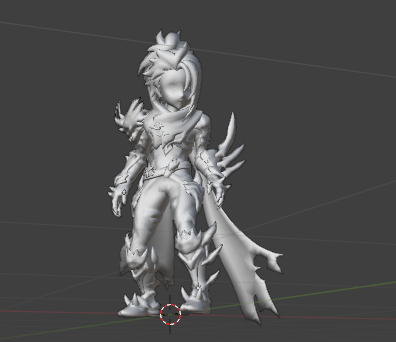
I brought everything back into blender where I froze the animation into a frame, deleted everything else and adjusted the weight on the vertices around the cape.
At this point the model is still not solid! So its not ready for 3D printing! It has a lot of problems like overlapping vertices, open wholes and others artifacts, but you can already start to see your character and adjust some small things.
Solidifying + Cleaning
After you have all of those done you can start to talk about solidifying your object in blender. On Blender 4.2.2. LTS (The version that I used on this project) you can enter on sculpt mode and ask for the said object be remeshed. You may work on settings until you got something that you like on it.
At this moment I took in consideration on how the cape was too lengthy, like I said, on the game it is cool to having it billowing, but for to be 3d printed, I had to adjust and used to help to secure the model as a 3th leg. Chubby Nameless if a cute Nameless…
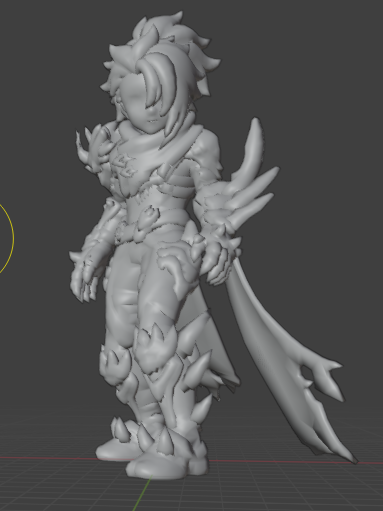
This solid piece then is exported and re-imported into a program called MeshMixer to solve the final problems of the problems. During the Remesh Step into Blender the model lost already some of the details, but that’s is the trade of bringing it into reality. On MeshMixer he lost even more details, more sacrifices for the physicallity of everything such dumb thing is that thing called gravity.
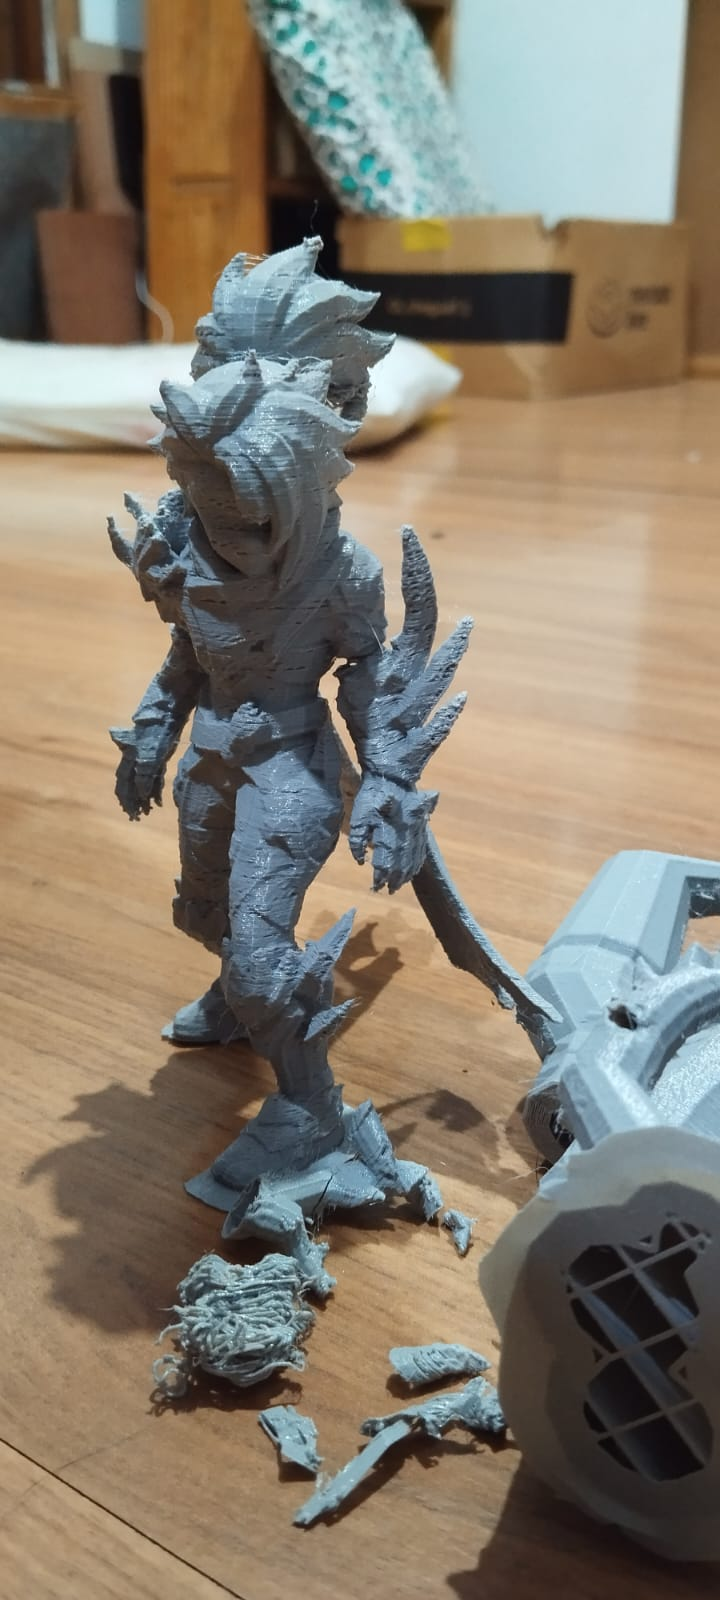
The result of this can be then used to make a boolean with a cube that overlap with the model inside Blender. This will generate a solid piece without holes. You may notice how some of spikes are missing like the ones on his feet
The Final Result
There’s a lot of back and fort on this process and trial and error. I didn’t took all the print screens and I’m writing this after a month of the process is already done.
My friend had the kindness of processing and making it look good after before sending to me. Resulting on this beauty:
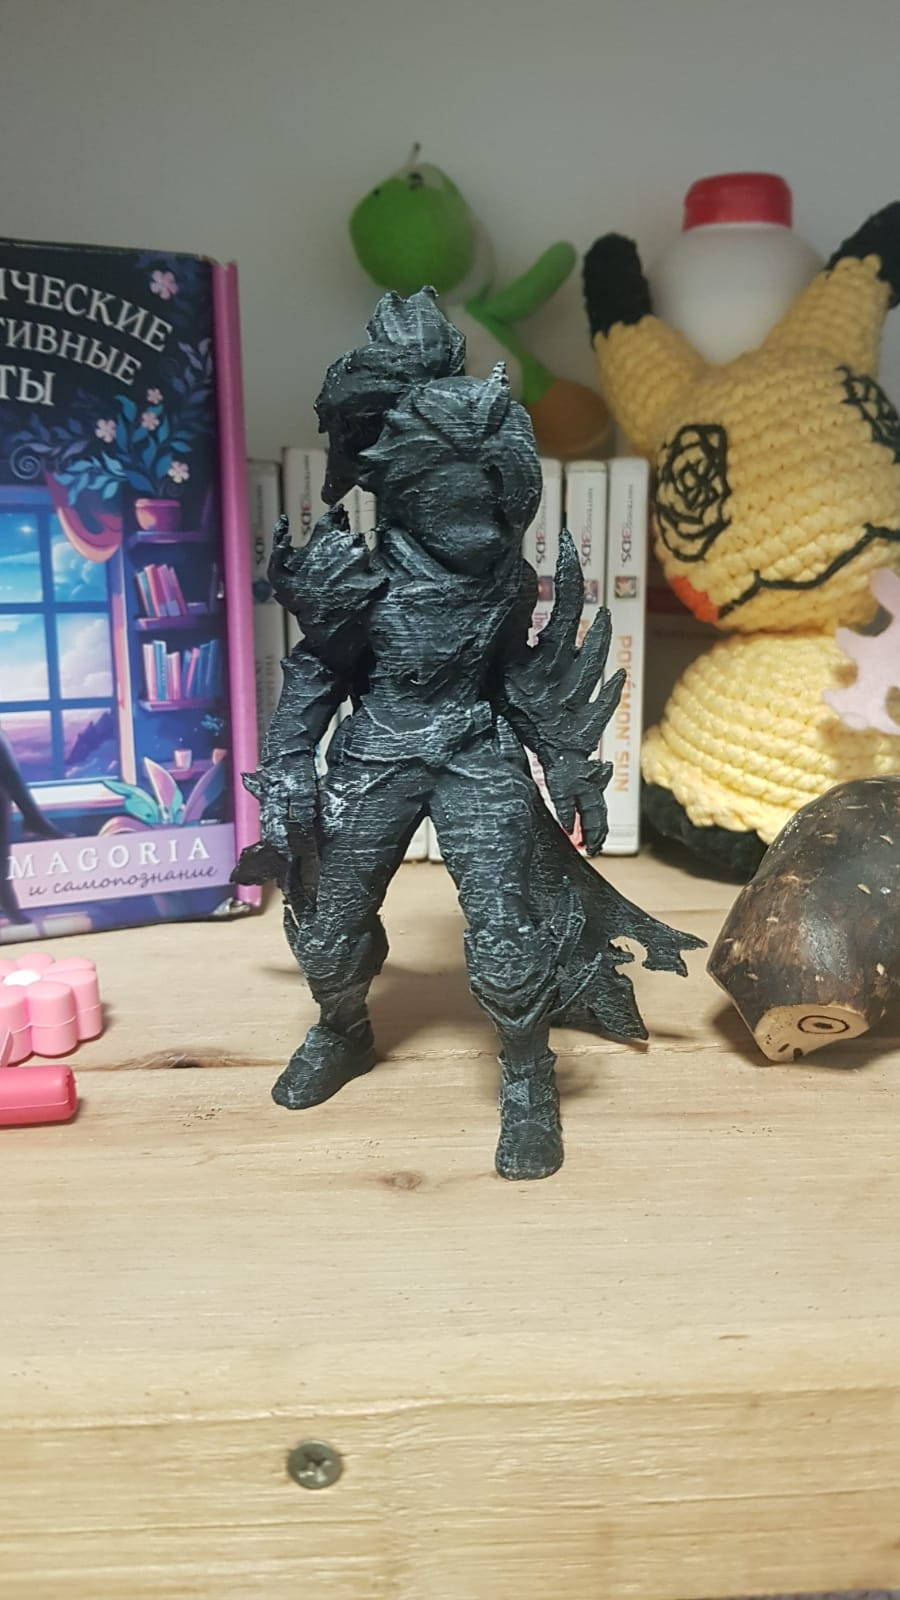
I learned a lot from this whole process and I want to repeat now with my own characters. My friend who took the job to print asked me to the next time I learn how to slice the model in smaller parts that are easier to print, like its hair. He suggest that I read this tutorial to get this new skill.
.gif)
I’m not distributing any of the files that I got and this probably will be the only 3d print copy that will exist made by me on this process. As I said on the beginning of this note, this is more a love letter for the game, creators and my friend than anything else. If you choose to follow this steps, you have my blessing, but be aware that not everything here might be legal where do you live.